Singing the Bulbs to Sleep

It has been a perfect fall so far, full of crisp apples and cider, pumpkin muffins, and of course lots to do in the garden.

For vegetables, I planted Romaine and Bibb lettuce in early September, along with radish and spinach seeds. All but the spinach are thriving and the tomatoes are still going strong. My peppers have also finally hit their stride in the cool days and chilly nights; there are four big Bells at last count and three Anaheims getting started: chili weather is here!

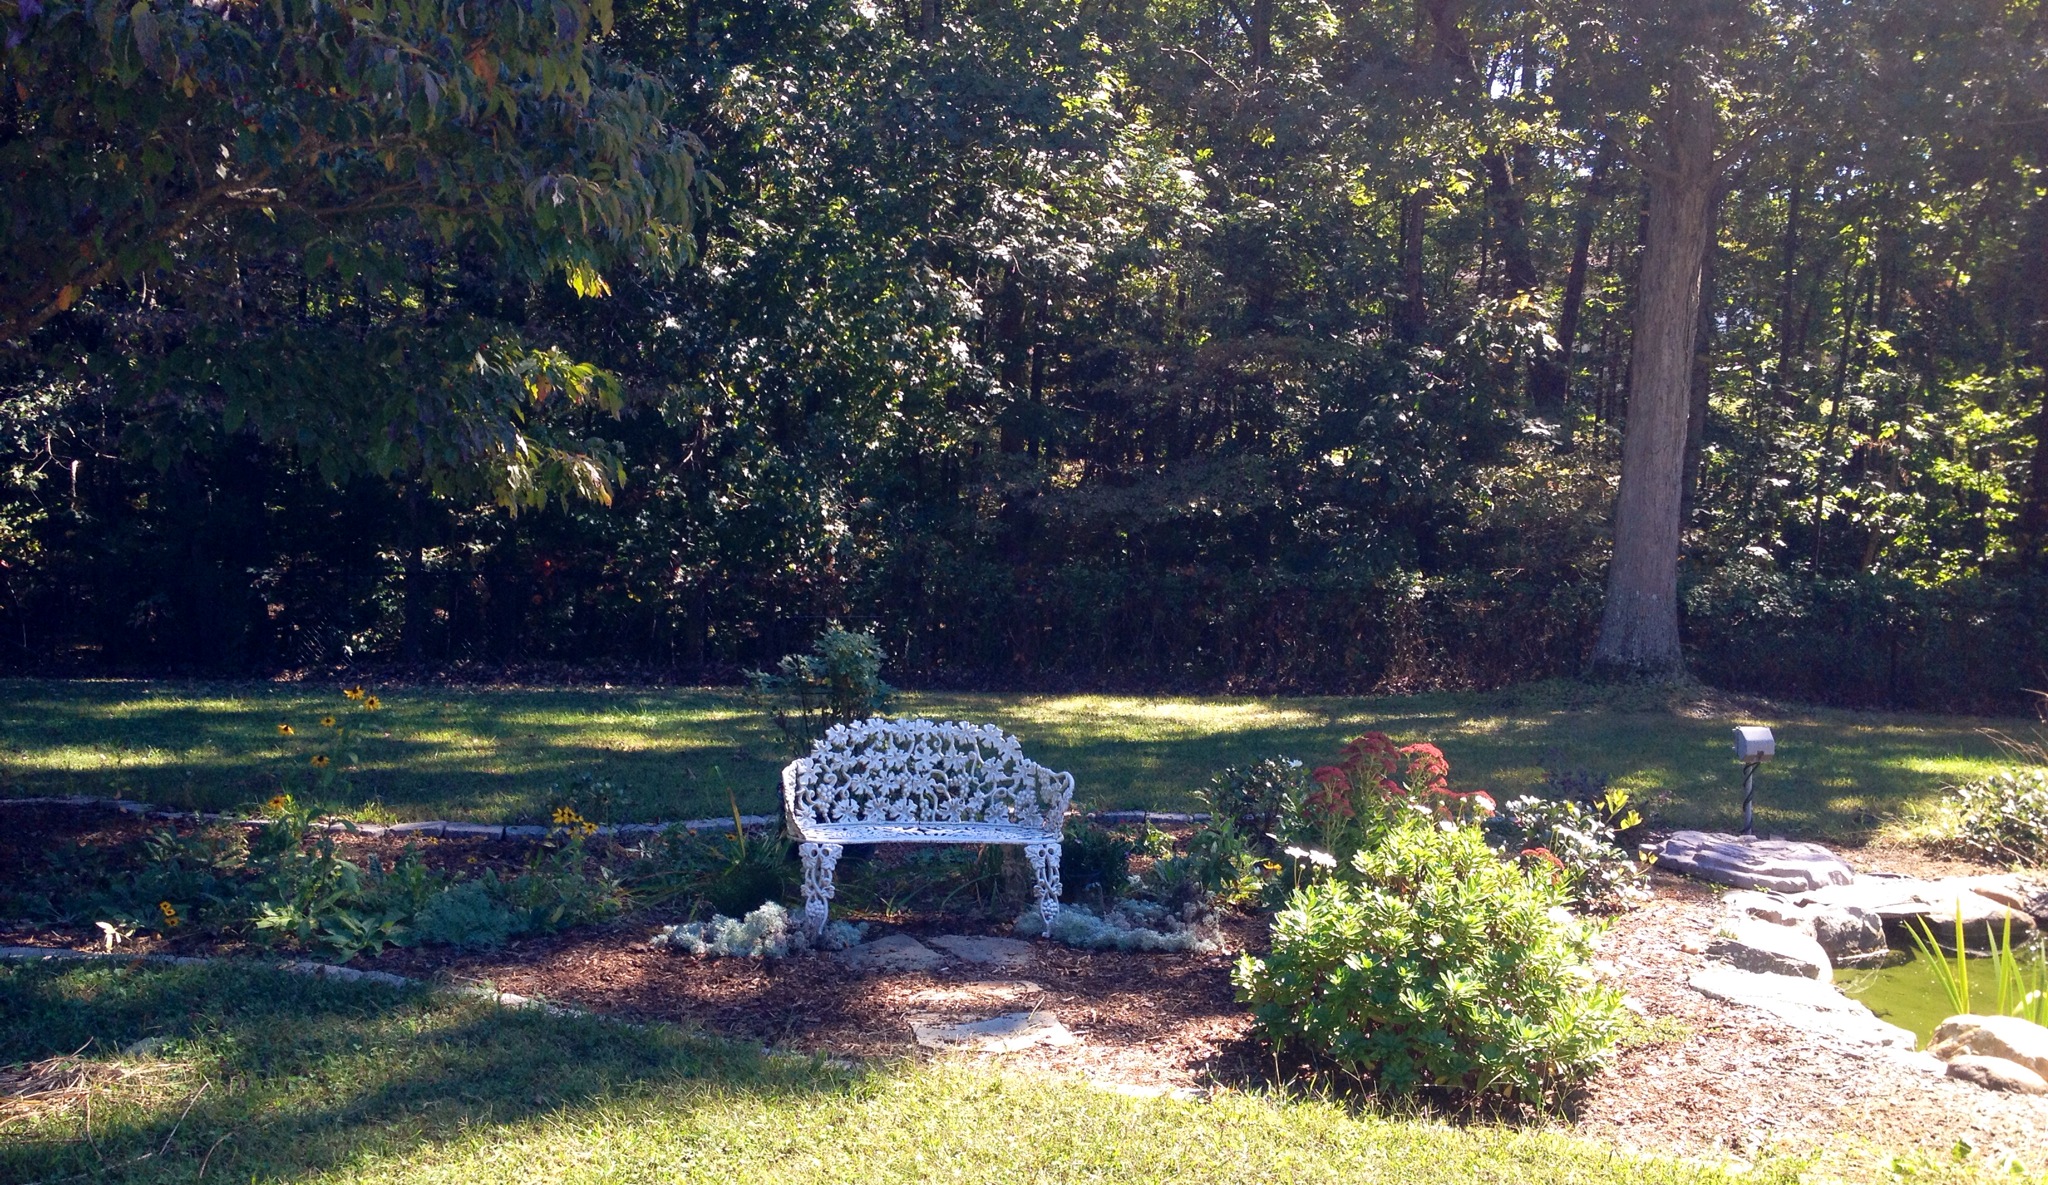
I’ve also been working on bulbs. I did a row of Allium along the back of the pond garden; I thought my little helpers would enjoy (picking the petals off) the big purple balls in the summertime. I added a semi-circle of red-and-yellow tulips, planted with rodent-resistant daffodils, around my little white bench. My little Rose has been helping me tuck the remaining daffodil bulbs around all of our decorative trees.

IMG_2585-1.JPG

Rose has been a bit confused by the process. She likes the bulbs and their papery skins, and she likes the game of hiding them in the dirt, but she then once they’re covered she’s ready to dig them out like any good game of peekaboo. I’ve had to explain to her that the bulbs are sleeping now, all through the winter, and they won’t wake up until spring when they’ll turn into beautiful flowers. She wasn’t crazy about that explanation until we sang them all lullabies, patting the dirt where the bulbs sleep. I’m hoping that extra effort will guarantee a full garden come spring.

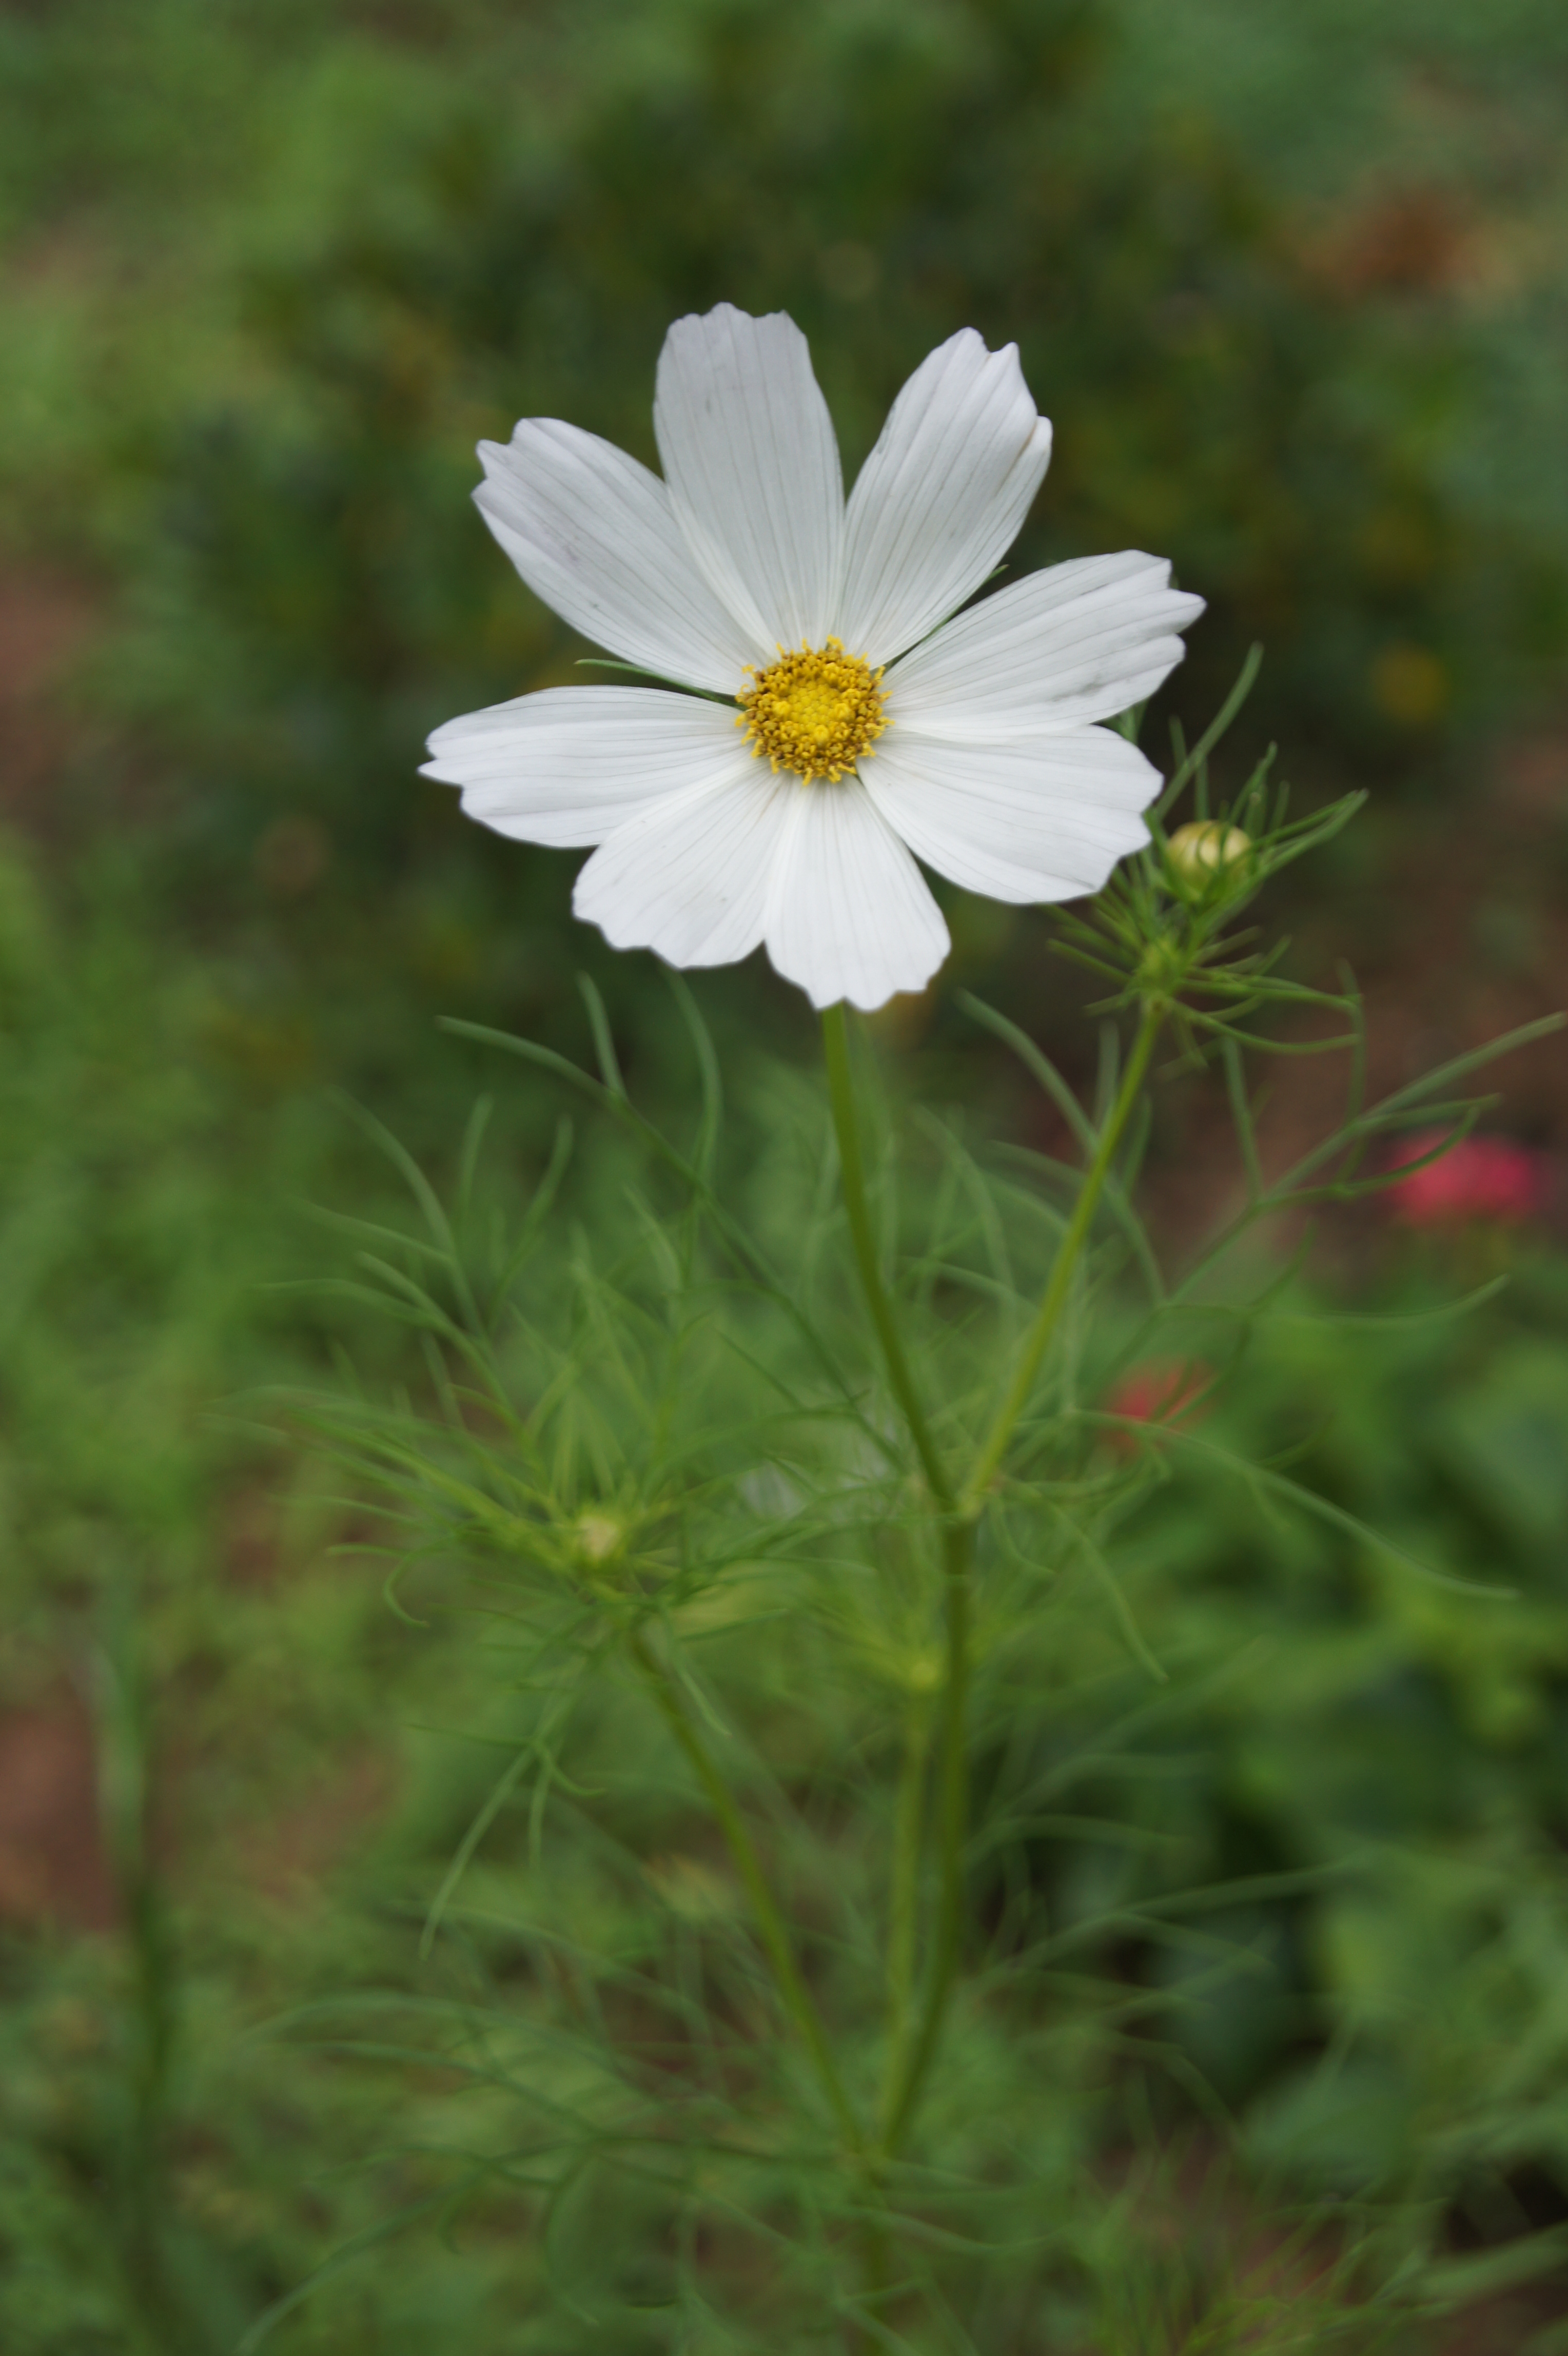
Meanwhile, the daisies, now interspersed with a flaming red seedum, have just begun to open their white petals for one of my favorite sights of fall.

IMG_2586.JPG

Boxwood Bounty

My mother-in-law is in the process of downsizing and her first priority has been, naturally, to leave no beloved plant behind.

Because she’s downsizing, that means many of those plants are finding a new home in our backyard. The vast majority of these plants are mature boxwoods. Nearly 20 of them to be exact.

My eyes nearly bugged out of my head when Chris began wrestling some of these massive plants out of the back of our car. Currently we have a small fortune in plants sitting on the side of my driveway as we frantically figure out what to do with this new prize.

Biggest Boxwoods Ever

I’m aiming to spread them in a couple of different areas, figuring they will become a unifying feature across the yard. The problem is that several of the areas where we plant to them aren’t exactly ready.

Fortunately, I had a brainstorm about how (I hope) to keep these gorgeous shrubs happy until next spring when we tackle our next major outdoor project. The little pit out front where we’ve been shoving leaves in the fall – the source of all of my fantastic veggie garden soil – is going to host the shrubs for a few months before we dig them back up again.

SONY DSCWhen I shared this idea with my mom, she commented, “Oh yeah, you’re heeling them in.”
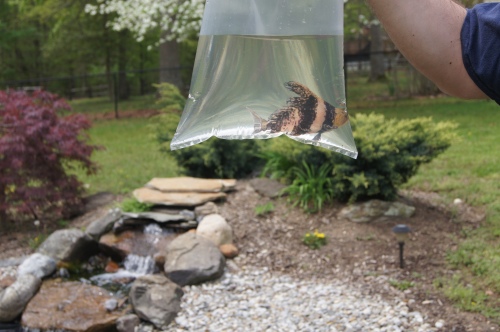
Apparently I wasn’t the first person with this brainstorm. This article from www.organicgardening.com explains a bit better the process of temporarily storing bareroot plants in the ground, a process that we’re adapting for our purposes.

I wish I’d thought of this ages ago. There are two long-dead fig trees I owe an apology.

SONY DSC

Harvest Time

It has taken forever, but I finally got to pick dinner!

Veggie Lover

I had actually just bought a zucchini for a summer squash pasta, and it blew my mind to see how my squash dwarfed the store-bought variety. I love that I’m finally seeing a payback for all my hard work — and the whole family is getting excited for it!

Build Your Own Tomato Cages

As I mentioned in my last post, watching my tomatoes grow has been like watching a cute little lizard morph into Godzilla. They’ve been ripping up their bamboo stakes and flinging them back at me while growling for more water and sunlight.

Honestly, the tomato cages available from garden centers today are super cute. The traditional wire cages now come in fun colors, and I was sorely tempted to go funky and fun. But instead I decided to keep things simple and continue with my woodsy natural theme — and finally put to use some more Pinterest-inspired ideas.

Here’s how this all came together.

tomato with trellis

For one cage, I used:

  • 4 1x1x boards, cut to 4-foot lengths
  • 10 3/8-inch dowels, 18 inches long
  • drill press with 3/8-inch drill bit
  • clamp
  • wood glue
  • mallet
  • 1 1/2-inch-long screw

I wound up using the miter saw to cut my boards and dowels to the length I wanted, and I put a 45 degree angle at the end of each 1×1 to make it a little easier to shove in the ground.

On each board I measured and put marks at 3, 17 and 31 inches. Then I rotated the board 90 degrees to the next side and put marks at 10 and 24 inches.

To get a straight hole, I used the drill press. After clamping my board in place, I sank holes all the way through the board at each mark.

drill and saw

Once everything had been cut to size and drilled, I began assembling essentially two separate ladders. I dabbed a bit of wood glue onto the end of the first dowel, using a paper towel to evenly apply it to the end, then I placed it into the first hole. The mallet came in handy for sinking the dowels in flush through the board. I proceeded to do that with the remaining two for that side. Next, I dabbed wood glue onto the end of each of those three dowels and set a second board onto those three ends, again using the mallet to make sure everything was flush.

That gave me one “ladder,” so I repeated the process again with the two other boards and three more dowels.

ladders

With my first ladder lying flat on the ground, I went through the glue-and-stick dowel process for the four holes now facing up. Then I simply added more glue and mated the second ladder onto the ends of those four dowels. Voila:

assembled cage

For my garden, I liked the natural wood look, since it matches what’s already out there. But I had toyed with the idea of using copper instead of wood dowels, or even using the fabulous copper metallic spraypaint that Rustoleum offers just on the dowels for a bit of fun. I also think 1-foot-long dowels might have worked, or even longer dowels but having them stick out several inches to create a trellis for plants outside of the box, so there’s definitely room to adapt this easy design.

Almost as soon as I had my cage in place and had stepped back to admire it, the monster plant toppled it. I simply don’t have enough dirt just yet to hold either of these things upright. So ultimately I wound up sinking a screw through one leg of the cage and into my raised bed, just enough to keep it upright. I didn’t want to go crazy with attachments as I figure next year I’ll rotate crops to keep from depleting the soil of nutrients.

A Rose in the Veggies

So there you have it! A simple yet distinctive way to keep your tomato plants growing upright.

Summertime Check-in

The biggest update of the summer is that the baby can now go 10 full minutes of helping me weed before putting dirt in her mouth.

I’ve been lax in posting updates, but now that I have a walking toddler on my hands I’ve had less time–but more help in the garden. And what a garden we’ve been tending!

The vegetables have far outpaced my expectations for them.

The zucchini looks like something out of Little Shop of Horrors as it prepares to take over my yard.

The zucchini looks like something out of Little Shop of Horrors as it prepares to take over my yard.

The tallest of the tomatoes have just uprooted their temporary stake, meaning I have to get working on their new cages.

The tallest of the tomatoes have just uprooted their temporary stake, meaning I have to get working on their new cages.

The Anaheim pepper, which has looked like it's on its deathbed since Day 1 has produced a beautiful little pepper.

The Anaheim pepper, which has looked like it’s on its deathbed since Day 1 has produced a beautiful little pepper.

The cucumbers have been sending out tendrils everywhere, requiring the quick addition of a trellis.

The cucumbers have been sending out tendrils everywhere, requiring the quick addition of a trellis.

There’s lot growing, but it’s all still green at this point. I imagine the tomatoes will bloom into their beautiful red about three hours after I leave for vacation!

Montana WildflowerMeanwhile, on the other side of the yard, the wildflowers are not only elegantly tall but beginning to bloom. Their feathery stems are beginning to unfold with the sweetest array of who knows what. I recognized this morning a single wild rose, an adorable yellow bloom tucked beside the big pot of roses the way my Rose curls against me when shy, with her face to my leg. I’ve been tardy in putting out mulch as I waited for these flowers to bloom and the grass has taken that opportunity to grow more rampant than ever in the turned soil.

The little Rose and I have been out in the evenings with our respective shovels, pulling out the grass and stroking the soft leaves of everything that remains. Even the fish have been enjoying the nighttime ritual as they swim to the closest rock and sit there with fins waving.

Meet Vince

No doubt about it, that fish is gone.

Chinese Hi Banded SharkOur exotic little algae-sucker was very quickly made into a fish stick by some passing predator.

Chris was immediately ready to go plop down change for a new exotic. After a little persuasion on my part, we instead invested in a different addition to the pond.

First let me just say, we could have gotten a heron. Instead, Chris wanted this guy:
 

20140522-093525-34525274.jpg
I’ve been calling him Vincent, an homage to Vincent Price, because the gator’s creepy grin gives me the willies. I find myself out weeding when the hairs on the back of my  neck start prickling; I look up to see Vince snarling his toothy grimace and several times the sight has made me jump. If any more fish go missing I’ll be ready to serve the remainders on a platter to the bird that has the guts to go up against this thing.

Chris also picked up a piece of corrugated pipe that we’re going to plant beneath a rock to serve as a third hiding spot. Lately when the skittish fish go to hide I can still usually make out a tail or two fluttering along the entrance to their cave. It’s getting a little crowded down there so hopefully a few new caves will help them out.

How to Build A Raised Vegetable Bed: Part II

There are several pretty big, if shallow, holes on our property. When one deepened, it became a pond. Another one is slated to become a dry creek bed … someday. Despite my husband’s protests that the indentation in the front yard would be a terrific sand trap for a cross-yard driving range, we’ve filled the final hole with autumn leaves chopped up by the mower and deposited in thick layers.

So how exactly does this relate to building a vegetable bed? Well, it means that after scooping the top layer of chopped leaves away to use as mulch along my rhododendrons, I have a nice pile of dark – free! – dirt to fill my new vegetable beds.

I filled each bed halfway with the decomposed leaves, then topped that off with four bags of purchased topsoil. Finally – at long last – came the step I’ve been long awaiting: planting.

So far my tiny crop consists of:

  • Big Boy Tomato
  • Better Boy Tomato
  • Roma Tomato
  • Basil
  • Cilantro
  • Zucchini
  • Cucumber
  • Anaheim Pepper
  • Yellow Bell Pepper

I planted my basil alongside my tomatoes in the hopes of infusing some exciting flavor into the vegetable. I also added a few marigolds in that square for cheer and to attract pests away from the edibles. Alongside the plants are markers I found on Pinterest: dowels with the name of each plant written on an attached clothespin.

Tomatoes and Marigolds

It almost sounds like I know what I’m doing, doesn’t it? In all actuality, when I arrived at the local garden center to select my plants it hit me that this is really my first vegetable garden. All of this knowledge soaked up from helping my mom in summers past is being put to use for the first time. It was a funny feeling to stand there frozen in place with a biodegradable pot crumbling into each hand as I thought about all of the watering and weeding ahead … and then imagined feeding my family sauces cooked from my own tomatoes and herbs (perhaps more realistically, one and half sandwiches featuring my homegrown produce, but let’s start out optimistic, shall we). For some reason, I felt overwhelmed at the thought of it all, when earlier I had been so excited for such work.

Peppers and Zucchini

That feeling was there later too as I scooped dirt out of the way and tucked each tiny sprout securely into place. As I pulled off my glove to scratch between the dog’s ears, it occurred to me that the feeling was probably because I’ve been maxed out on nurturing lately. It was nice to remember that my garden is anything but demanding. It’s my little oasis, a place where I can go and think about absolutely nothing.

I dug a little further then Akira and I sat there enjoying the view, taking turns sniffing happily at the odor in the air of freshly disturbed dirt and impending rain.

Guard Akita

Re-restocking the Pond

We were saddened to learn earlier this year that a member of our little family had passed on to the big pond in the sky. When the pond thawed out around the beginning of April, we noticed that one of the koi – one of the larger of our fish, with a mix of white, black and orange coloring – was simply missing. We’re always very excited each year to see our finned friends again, and relieved to know the pond can sustain them as they hibernate through the winter. This was a hard blow, especially to Chris, who takes his pond maintenance duties very seriously.

Tadpoles hard at work, pond-cleaning.

Tadpoles hard at work, pond-cleaning.

As May has crept in, however, the pond is filling back up. The tadpoles are out in force, wriggling eagerly against the rocks as they eat their fill of algae. In the evenings we can sometimes hear the frogs singing from the nursery window, a good reminder for me and the little Rose to go out and feed our fish. Yesterday when we did just that – Rose mesmerized by the swirling colors of the remaining fish – we got a special treat. I bent down by the water’s edge to see a frog that was, as I delicately explained it to the unimpressed toddler, carrying a smaller frog “piggyback.” I knew Rose wouldn’t pay attention to the well camouflaged brown creatures – but then the she frog swam directly to us and popped out of the water. For a moment we were all quite still in our surprise, and then Rose exhaled a quiet “ooh” and the froggy pair plopped back into the protection of the water.

As I’ve written in the past, the tadpoles do a fantastic job of cleaning the pond each spring. But then they leave and the sun grows hotter and the algae blooms in earnest and Chris runs himself ragged replacing the lava rock in the waterfall and balancing additives in the pond. This year he decided to try a different additive: a Chinese hi fin banded shark. SONY DSCOur new friends at Virginia Water Garden had recommended the suckerfish, but we’re currently waiting to see if we’re the suckers.

You see, after allowing him time to adjust to the water temperature and make-up, we released the little guy out into his new home – and we haven’t seen him since.

Releasing the FishChris has been on constant patrols trying to spot some evidence of the fish. I’ve laughingly remind him that the whole point of camouflage is to not be seen, but I’m surprised to by how quickly and completely the fish has hidden. And I recall all too easily that we had originally purchased three goldfish: My favorite disappeared within a week, and a second was gone before winter. So for now we’ll continue our patrols and hope that someday soon we’ll go to feed the koi and realize that the pond has magically be cleaned …

How to Build a Raised Vegetable Bed: Part I

Raised gardens seem to be all the rage these days. It’s no wonder. Aside from the ergonomic benefits (depending on how high you raise it), you’ve got a nice border to keep out weeds. And there are so many stylish things you can do with the bed itself, as well as your placement of your beds and pathways running through them.

I decided on raised beds because I didn’t know what else to do with my dance floor. My then-fiance had built a dance floor for our wedding out of 2×6 boards, each about 16 feet in length. I decided this year that the third year anniversary must be the wood (or maybe tomato?) anniversary.

The framing has taken maybe a half hour per bed. We decided four-foot square boxes would be the optimal size, so that by sitting on the corner of one bed you could reach entirely across it … although we also factored in the convenience factor of knowing each board would become one veggie bed. Chris used the skill saw to turn each board into four 4-foot sections.

Pilot Holes
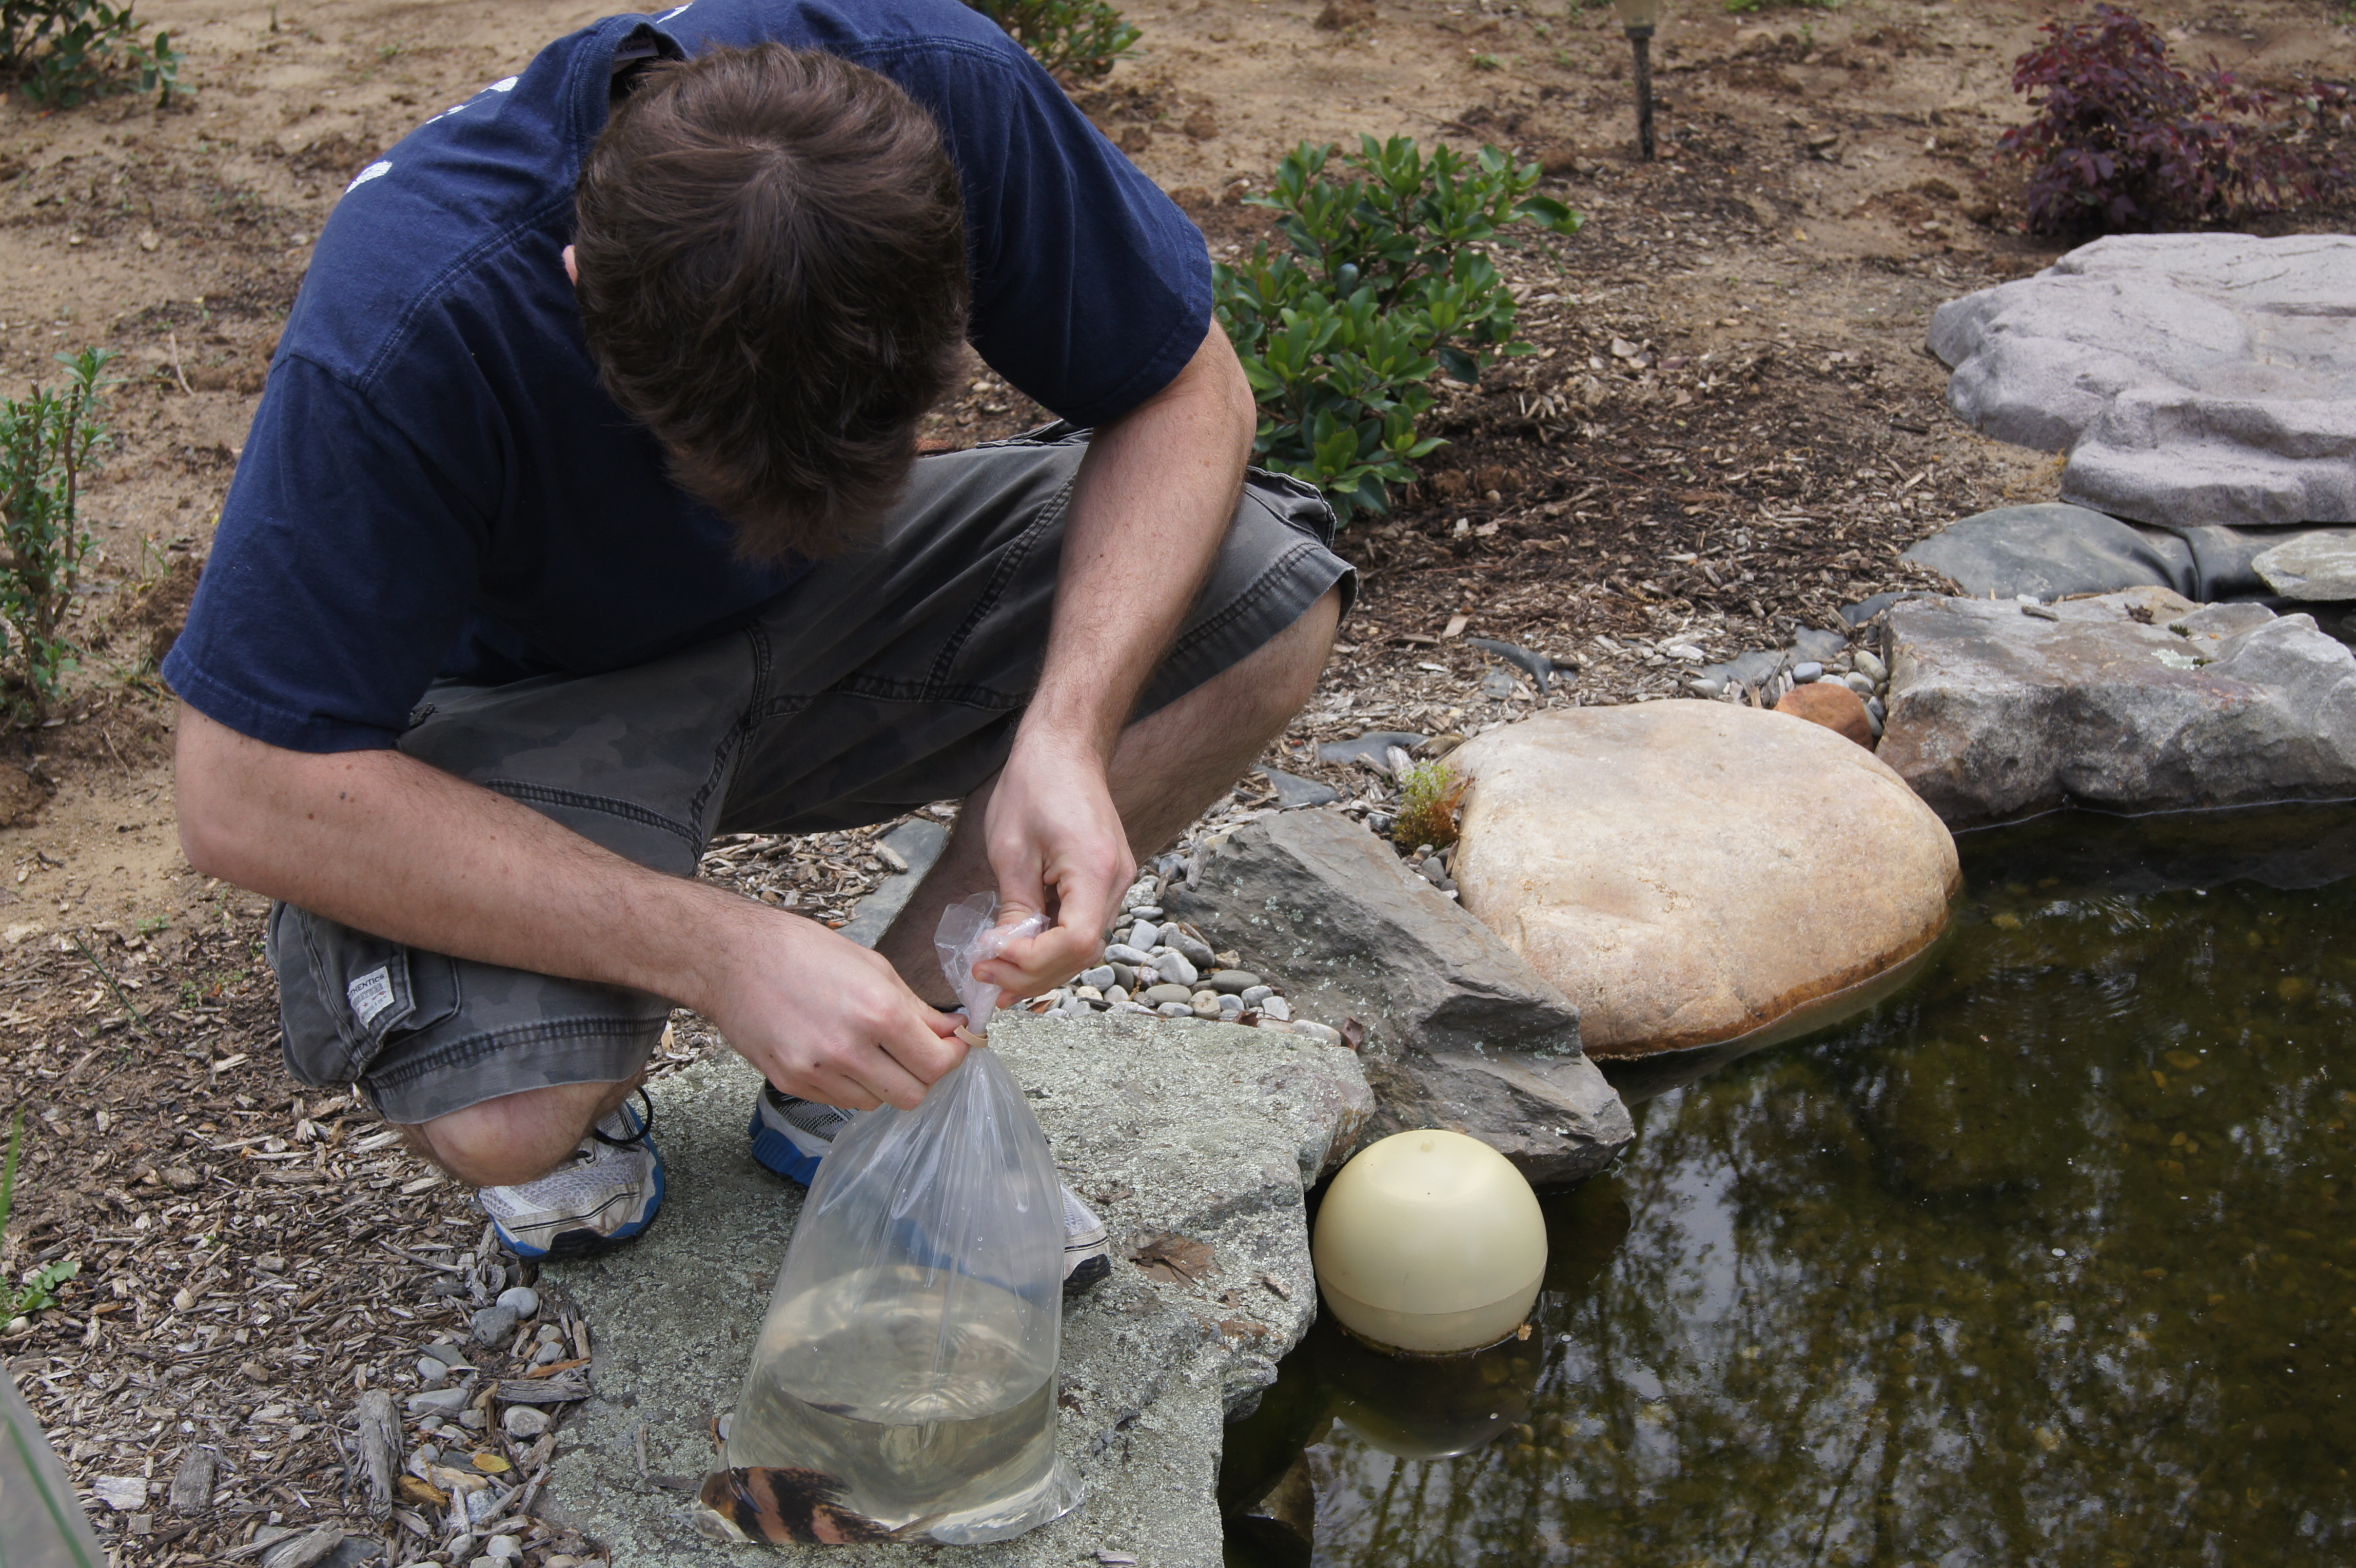
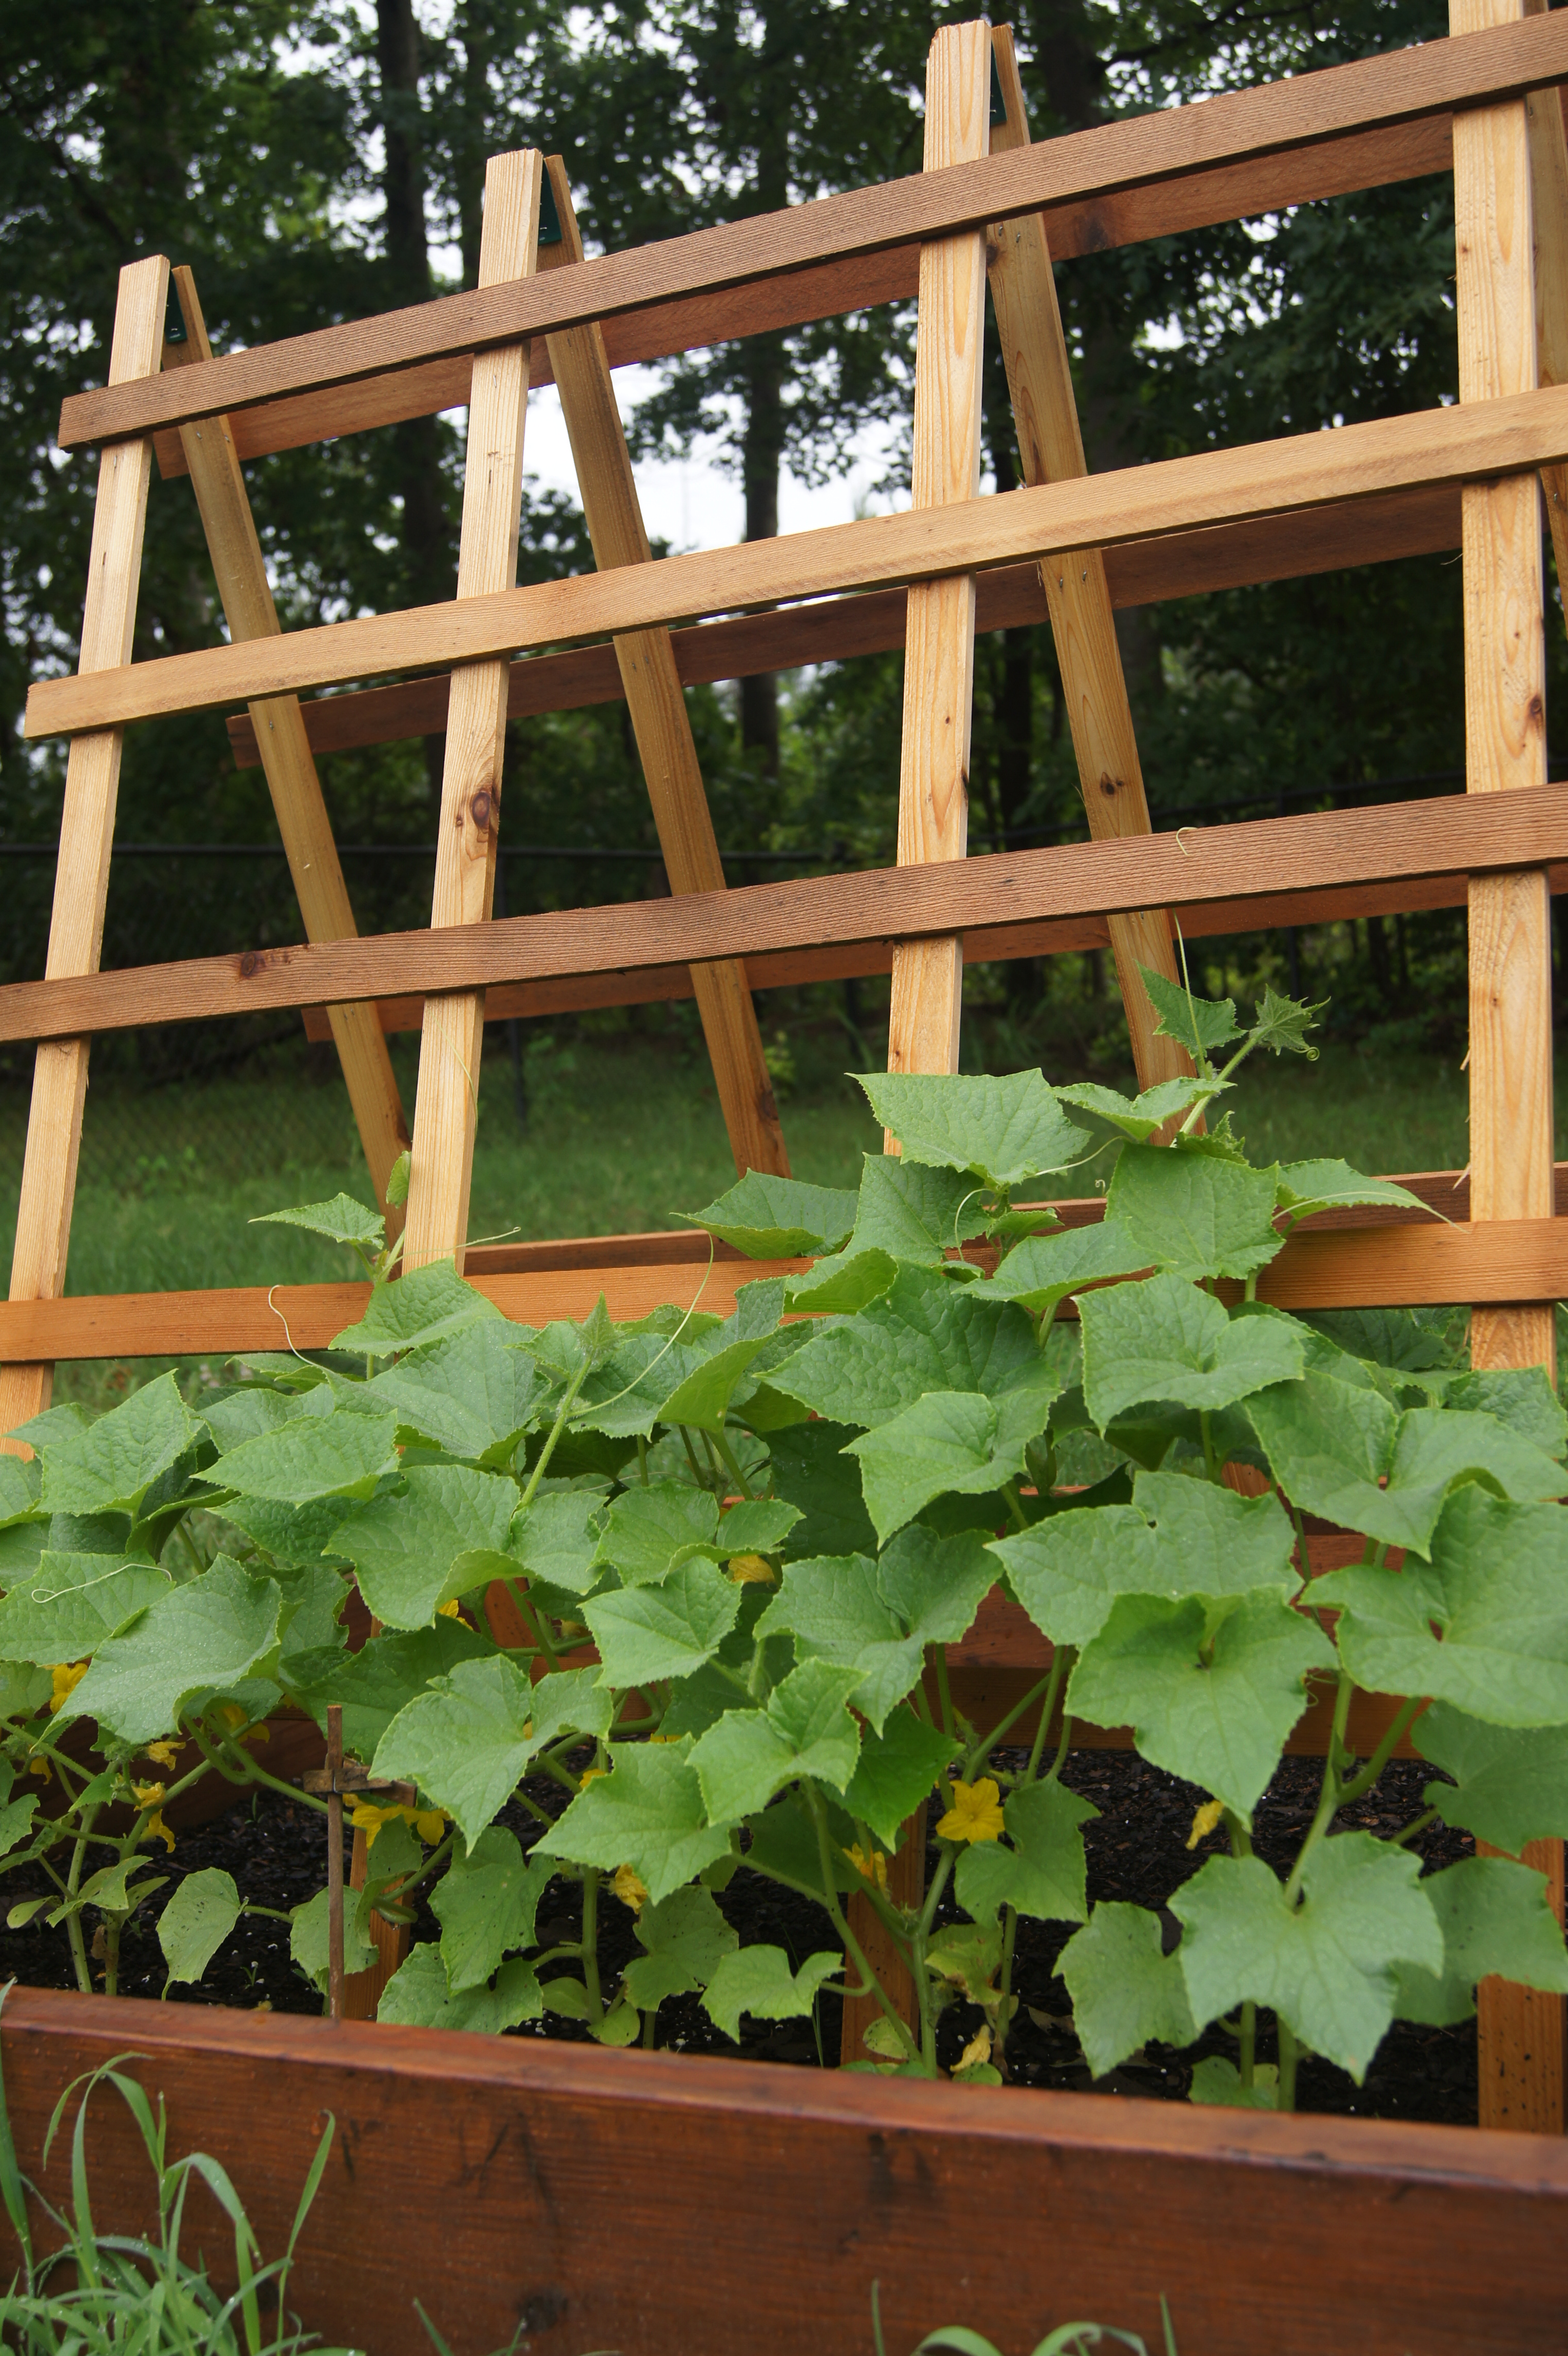
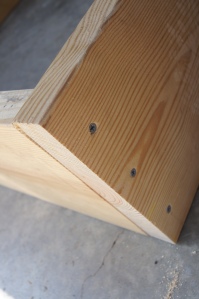
Next, I measured a line across one end of each board about an inch down from the end. Using that as a guide, I used the drill press to put three holes within that guide. Once I had four boards pre-drilled, I squared them up with the help of a 90-degree clamp, placing the pre-drilled holes flush against the end of the next board.

I used the cordless drill to drill through my pilot holes then sank in the screws. By this point most of the boards have warped, so I can’t say this is timeless construction, but since they’re not pressure-treated either, I’m just shooting to keep them around for a couple years. With that limit in mind, I opted not to lay 2x4s on top as a seating ledge, because I have other ways in mind to jazz up the look of this simple frame.

Vegetable Bed Construction

Chicken Wire and Weed Control
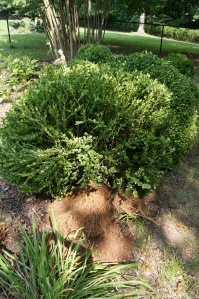
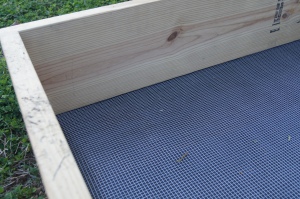
Since we have voles building a subterranean metropolis beneath our backyard, Chris stapled a chicken wire screen to the bottom of each box. Beneath the wire he added a layer of landscaping fabric to keep out any weeds.

We’re four boxes in, two more to go. Once they’re complete, I’m going to add a coat of stain to match the fence and deck. Then, at long last, comes the most important step: filling the beds.

Raised Vegetable Beds


Sowing Wild Flowers

The most recent additions to my new cut flower garden are starting to show signs of life. Two years ago, on our honeymoon in Montana, Chris bought me a pack of wildflower seeds. Grow the Flowers of Glacier, the packaging promises. Included are:

  • My first view in reverse; you can see the Glacier Park Lodge's beautiful pathway of local flowers leading straight to the train station.

    The Glacier Park Lodge’s beautiful pathway of local flowers leading straight to the train station.

  • Paintbrush
  • Gaillardia
  • Fireflower
  • Phlox
  • Rose
  • Flax
  • Columbine
  • Forget-Me-Not
  • Lupine
  • Penstemon
  • Iris
  • Bluebell

Some of these I know. Some have such intriguing names that I can’t wait to meet them.

After the last good rain, I turned the dirt in the new garden one more time, simply loosening it with a rake and pulling out any hints of grass and clover left behind. Next, I sprinkled the entire contents of the bag into the loose soil. I covered the seeds with a thin layer of potting soil, simply shaking big handfuls evenly over the seeds. I’ve been watering daily, as much to keep the little seeds growing as to keep my four-legged assistant from settling in this nice cool patch of dirt.

The instructions included with the seeds note that some of these flowers are annual and some perennials. Some may take two or even three years to creep up out of the ground. And of course, two years have passed since I should have tucked them into the dirt.

Still, my two-legged helper and I have been inspecting the grounds daily. Little Rose is insistent on toddling everywhere now, which she can only do if I hold her hands to keep her steady as we explore. It gives me a good, close view of the ground, though, which is the only way I could have spotted the minute hints of green peeking up out of the dirt yesterday. Rose and I stopped to applaud our success, then went off to fetch the hose. There’s a long way to go before those little sprigs of green are ready to bloom.

Wildflowers